 Ninelands
The Ninelands Guide
Welcome, ruler. This is the in-depth guide to Ninelands – the rules explained piece by piece, worked examples on real maps, strategies backed by thousands of simulated games, and designer's notes that explain why the game works the way it does.
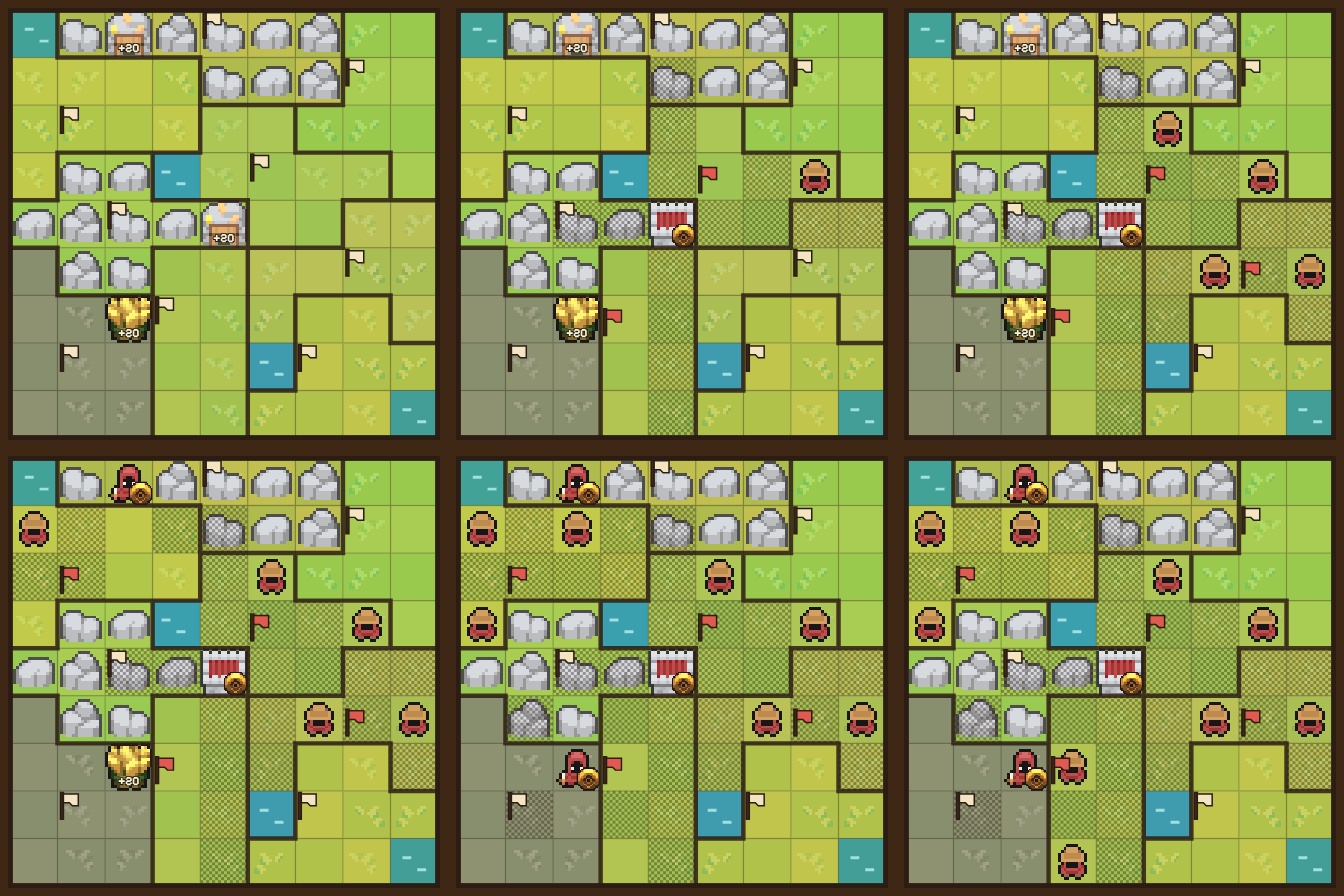
Every number in this guide – costs, reach, strength, gold – comes straight from the game's rule data when the guide is built, and every board picture is drawn by the game itself. If a rule changes, the guide changes with it.
New to the game? Start with First steps. Looking for an edge? Jump to Strategies.